
4 Steps to Change the Thermocouple of a Water Heater
Summary
– Step 1: Turn off the gas and electricity
– Step 2: Locate the water heater thermocouple
– Step 3: Remove the thermocouple from the water heater
– Step 4: Reassemble the thermocouple
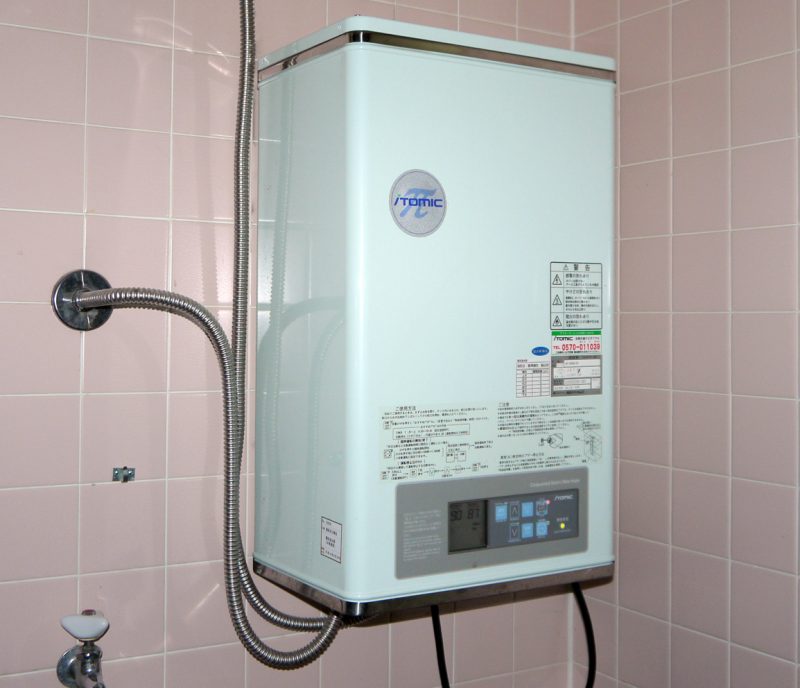
The thermocouple of a water heater is a flame safety device for water heaters with a pilot light.
The thermocouple is replaced by electronic ignition and an ionization probe on new models of water heaters. Nevertheless, there is still a majority of appliances in service with this technology.
The thermocouple operation is simple:
- If the pilot light goes out, the thermocouple connected with the pilot light flame is no longer heated.
- The gas which feeds the pilot light is cut off.
- The water heater is thus safe, as is your home.
For optimum and safe operation of your water heater, it is recommended to clean the thermocouple and the pilot burner once a year.
However, in some cases, the thermocouple may need to be replaced. For example, if after cleaning it and the pilot injector, the pilot flame refuses to light.
The thermocouple is an inexpensive device and can be changed and maintained by anyone.
You can get a thermocouple identical to the one on your water heater (same brand) or use a universal thermocouple. Here is how to change the thermocouple of a water heater.
1. Turn off the gas and electricity.
Before working on your water heater:
– Turn off the pilot light by turning the water heater to the “off” position.
– Turn off the gas supply.
– Turn off the electrical supply at the main circuit breaker or remove the fuse corresponding to your water heater.
Caution: For safety reasons, keep children and pets away from the heater and wait for the heater to cool down before working on it.
2. Locate the thermocouple of the water heater
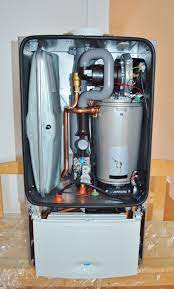
The thermocouple is connected to the pilot light and is located next to the pilot light. It has a conical shape that ends in a point. To find it easily, refer to the manual of your appliance.
In practice:
– Remove the cover of your water heater.
– With the help of your manual, if necessary, locate the thermocouple of the water heater.
3. Remove the thermocouple from the water heater.
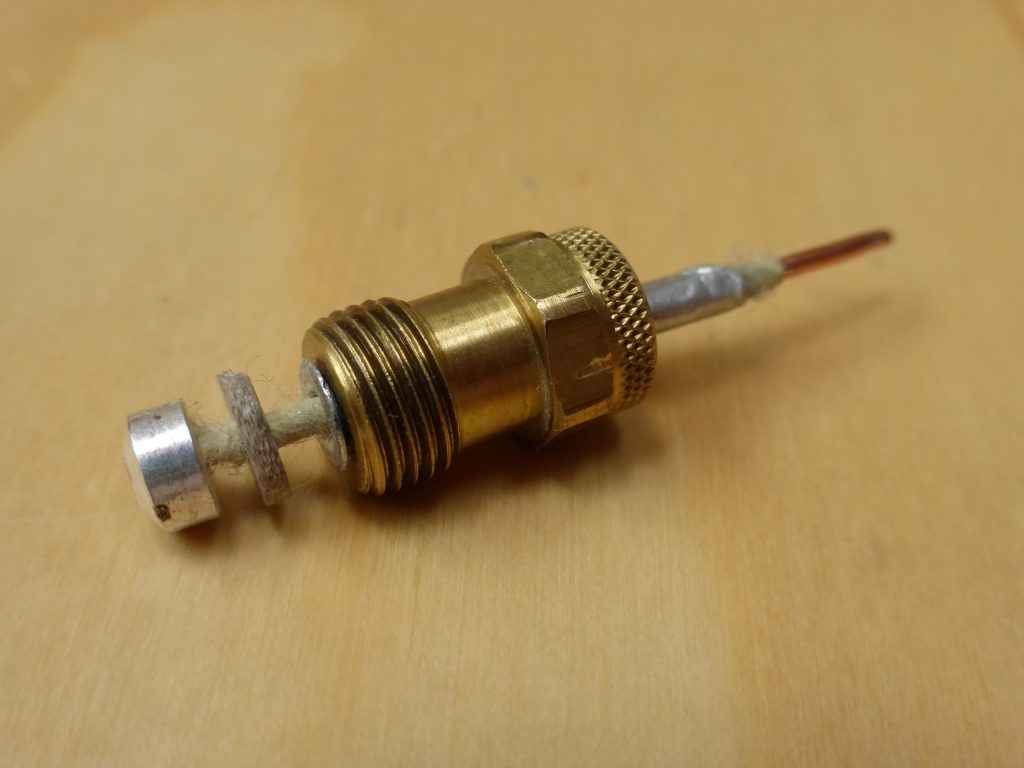
With the cover removed and the thermocouple located, you can see that it is attached to two points:
– One point that is located on the pilot block.
– One point is on the pilot block, and the other is on the other end of the thermocouple wire, at the magnetic end cap.
– Once you have located the point, unscrew the two fixing points with the open-end wrench and carefully dislodge the thermocouple.
Note: the mounting of the thermocouple may be slightly different depending on the instrument; a simple observation allows to find the fixing points, the principle remains the same.
4. Reassemble the thermocouple
– Position the magnetic end cap in its housing and screw on the nut.
– Position the head of the thermocouple in its housing and screw it on.
– Replace the cover of the water heater.
– Turn on the gas, then the electricity, and light the pilot light; the flame must be blue and straight.
Note: before refitting the water heater’s thermocouple, you can clean the injector of the pilot light.
Materials needed to change the thermocouple of a water heater.
| Flat wrench | $2 approx. |
| Specific or universal thermocouple | From $15 |
Hope this post helps you to change the thermocouple of a water heater. Remember to share your experience below.