
Contents
– Step 1: Turn off the power to the water heater
– Step 2: Locate the pilot light on the water heater
– Step 3: Remove the pilot injector
– Step 4: Clean the pilot injector
– Step 5: Reassemble the pilot light and return the water heater to service
Cleaning the pilot injector of a water heater is an integral part of its maintenance and should be done once a year. Indeed, very often, the extinction of the pilot light is linked to the clogging of its injector.
The pilot light allows:
– to light the burner of the water heater when there is a demand for heat;
– to bring heat to the thermocouple, without which the water heater goes into safety mode and shuts down.
If your water heater shuts off regularly and more and more often and eventually does not turn on again, start by cleaning the pilot burner of the water heater as well as the thermocouple.
After cleaning both, if the water heater does not light up again, you can change the thermocouple, which is an easy and inexpensive part to change.
In most cases, cleaning the pilot injector will get your water heater back on.
For your water heater to work correctly, the pilot flame should be blue, stable, and straight. If it is orange and weak or unstable, the pilot light needs a good cleaning!
Here is how to clean the pilot burner of a water heater.
1. Turn off the power to the water heater
Before you can work on your water heater, you must turn off the power:
– Press the stop button.
– Turn off the gas supply.
– Turn off the electricity either at the general meter or at the fuse corresponding to your water heater if necessary.
Caution: To work safely, keep children and pets away. 2.
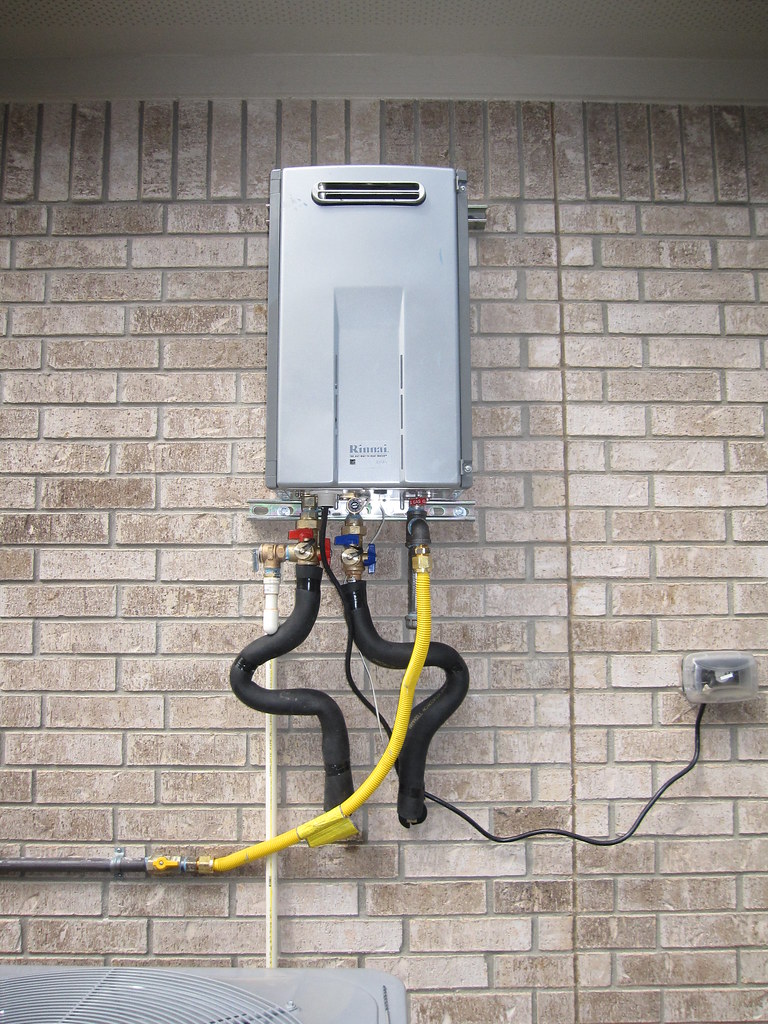
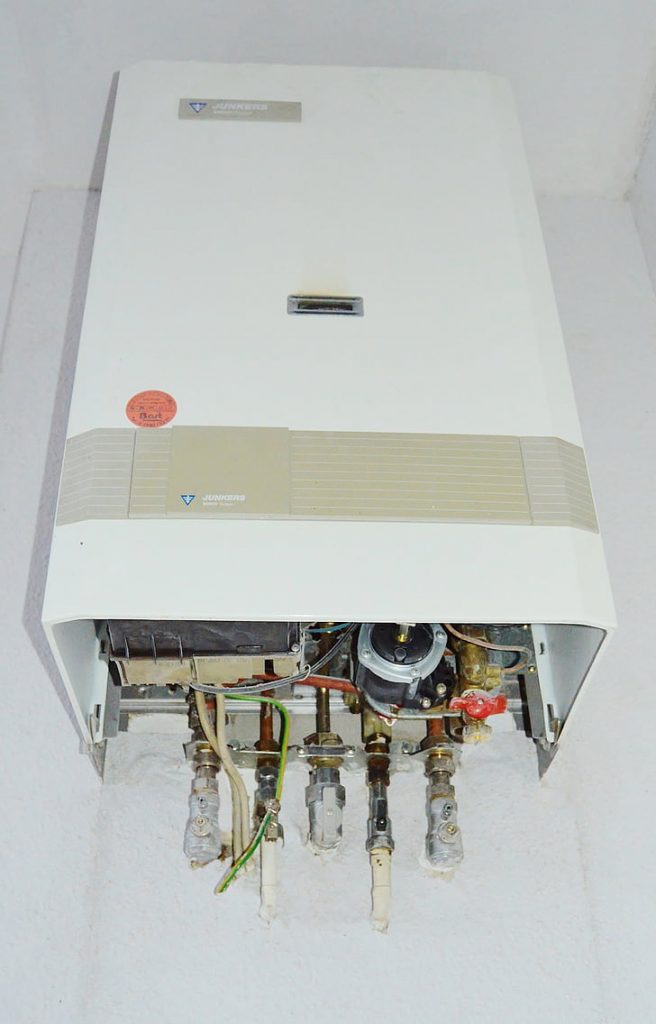
2. Locate the pilot light of the water heater
Ideally, it would help if you refer to your appliance’s technical manual, which includes a diagram of your water heater. Still, the principle remains more or less the same for all devices:
– Remove the cover of your water heater. If you have buttons, do not forget to remove them before removing the cover.
– The cover is removed by holding it with both hands on either side of the shell, then pulling the bottom towards you, and finally removing it by reaching up to the ceiling. You may need a screwdriver depending on the configuration of your device.
– You can quickly locate the pilot light; it is on the front of the unit next to the thermocouple and the ignition electrode to form the pilot block.
– The injector is located in the pilot light, attached to its base; it is the injector that ensures a good flow of gas and, therefore, its proper functioning.
3. Remove the pilot injector
– Unscrew the nut that holds the pilot burner and dislodge it.
– Remove the pilot injector from the base of the gas supply tube.
Tip: You can take one or more photographs of the pilot block assembly so that you can reassemble it identically if necessary.
4. Clean the pilot injector
– Brush the injector and clean it with soapy water to remove any greasy deposits.
– Swab the gas supply tube to remove dust.
Tip: You can vacuum the exposed metal parts if there is dust.
5. Reassemble the pilot light and put the heater back into operation
– Reassemble the clean and dry injector, and replace the pilot light in the same manner.
– Turn on the electricity and gas.
– Light the pilot light on the water heater and check that it is blue, straight, and stable.
– Turn on a hot water faucet to verify proper operation.
Note: With the water heater turned off and on, you can clean the thermocouple.
Materials needed to clean the pilot injector of a water heater
| Philips screwdriver | $3 or more |
| Flat wrench | $2 approx. |
| Swab | Approximately $6 |
Read more here:
4 Easy Steps to Drain a Gas Water Heater
And, remember to share and comment.