
If you notice water leaking or dripping from your air conditioner, it is caused by a clogged pipe. This does not mean that your device is damaged! It’s just that it needs maintenance or cleaning. This should be done in 5 different steps.
Step 1: Know the real cause of the problem
There are two options:
The problem is with the condensate drain.
When an air conditioner starts to cool the air in a room, it dries it out while sucking out the humidity that is present. This moisture condenses inside the air conditioner and is easily transformed into water droplets: this is called condensate.
This condensate is then collected in a tray and evacuated through a small pipe to the house’s drainage system.
A leak caused by an overflowing pan
Over time, the drain pipes become clogged with condensate, and this can cause a leak. This can then cause the drip tray, which is designed to receive the water droplets, to overflow. If this happens, quick action is required.
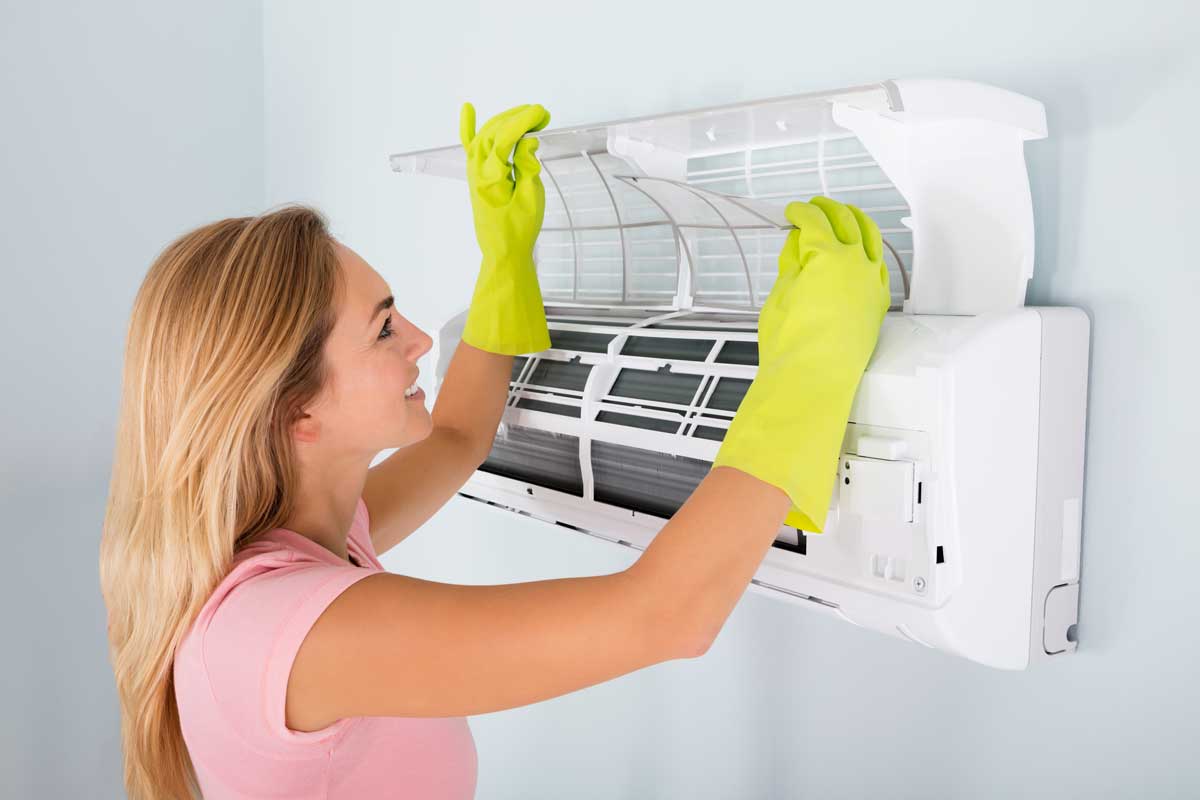
Step 2: Open the air conditioner
Before disassembling anything, remember to turn off the unit. Disconnect the fuse that powers the air conditioner. Your first goal is to make it easier to access the condensate pan. To do this, open the air conditioner and remove the plastic cover while removing the screws that hold it in place. Then tilt the cover forward. However, there are clips holding it on, so take the time to remove them.
Step 3: Clean the condensate pan
The cover is now removed. Now it’s time to clean the air conditioner or, rather, the condensate pan. Before cleaning it, remember to empty it of all its contents (water loaded with impurities). This element is often located at the base of the air conditioner. It is, therefore, necessary to locate it to see if it is complete. If it is, empty it before you start cleaning.
In case the tray is empty, it means that it is not appropriately placed and the water is not poured in the right place. Use a glass to do this. This way, you can be sure that you won’t spill it all when it’s time to take it out of the air conditioner.
Step 4: Unclog the drain pipe
Condensate can easily clog the drainpipe of the unit. If this is the case, then equip yourself with a ferret. This tool makes unclogging easy. However, make sure that the size of the tool is appropriate for the diameter of the drain pipe. Use it to push the condensate to the general drain.
Step 5: Check the air conditioner discharge
Once you’ve solved the problem and are satisfied with your work, it’s now time to reassemble your air conditioning unit. But before you start, check one last time to make sure everything is in place.
If everything is in order, insert the empty condensate pan into the unit. Then connect it to the drain pipe. But before continuing the installation, pour some liquid or water into it. This is not mandatory, but it is still necessary. This is to ensure that the slope is working properly and is leading the contents of the pan to the drain pipe. Put a little more water in to find out if it is still flowing.
If you don’t see any leaks or drips from an air-conditioning area, the last element is back in place: the plastic cover. The operation is finished!
Sound off in the comments section below and tell us what you want to read next.