
How to Dismantle and Reassemble Your Water Radiator
Contents
Step 1: Bleed the radiator
Step 2: Empty the radiator
Step 3: Disconnect the radiator from the system
Step 4: Reassemble the radiator
Step 5: Vent the radiator
Step 6: Check the radiator installation
Whether painting or papering a wall, painting your radiator, or changing the model, there are many opportunities to remove a water radiator.
You can disassemble a radiator yourself as long as you take a few precautions.
Before disassembling a water radiator, examine it to determine its weight: older cast iron radiators are often very heavy, and it is best to use two people to handle them.
1. Bleed the radiator
Before dismantling the radiator, you must close the radiator’s valve and control tee (water return valve).
Important: on older installations (cast iron radiators), there is no return water valve at the bottom of the radiator. It is, therefore, essential to drain the entire installation as if replacing a radiator valve.
Then drain the radiator by loosening the drain screw.
The bleed screw is located on the side of the radiator, opposite the temperature control valve. You must loosen the small knob at the end of the bleed screw. Do not unscrew it completely, or you may be unable to screw it back in.
Place a container under the bleed screw.
Unscrew the bleed screw.
Bleed until the water stops flowing so that the pressure drops.
Leave the bleed screw open.
2. Drain the radiator
To drain the radiator, you will work on the water return valve, usually located on the opposite side of the radiator from the temperature control valve.
The valve is closed by a bolt, itself located under a cover. It is attached to the radiator by a nut.
Remove the return valve cover.
Close the return water valve by turning the bolt with the Allen key.
Count the number of turns you make with the Allen wrench so you know how many turns it will take to reopen the valve.
Place a basin under the return water valve.
Loosen the valve nut moderately with a wrench so water from the radiator can flow into the basin.
Finally, unscrew the valve nut completely to release the radiator.
3. Remove the radiator from the system
Disconnect the radiator from the temperature valve to remove it from its location.
Unscrew the connection from the temperature control valve to the radiator with the wrench.
Lift the radiator off the wall bracket or feet and remove it.
Then place a drip cap or tape over the water inlet valve and outlet.
4. Reassemble the radiator
Whether replacing the same radiator or replacing your old radiator with a new one, the process for reassembling a water radiator is the same.
Replace the water radiator on its wall bracket or its feet.
Tighten the nuts on the water inlet and return valves with a wrench.
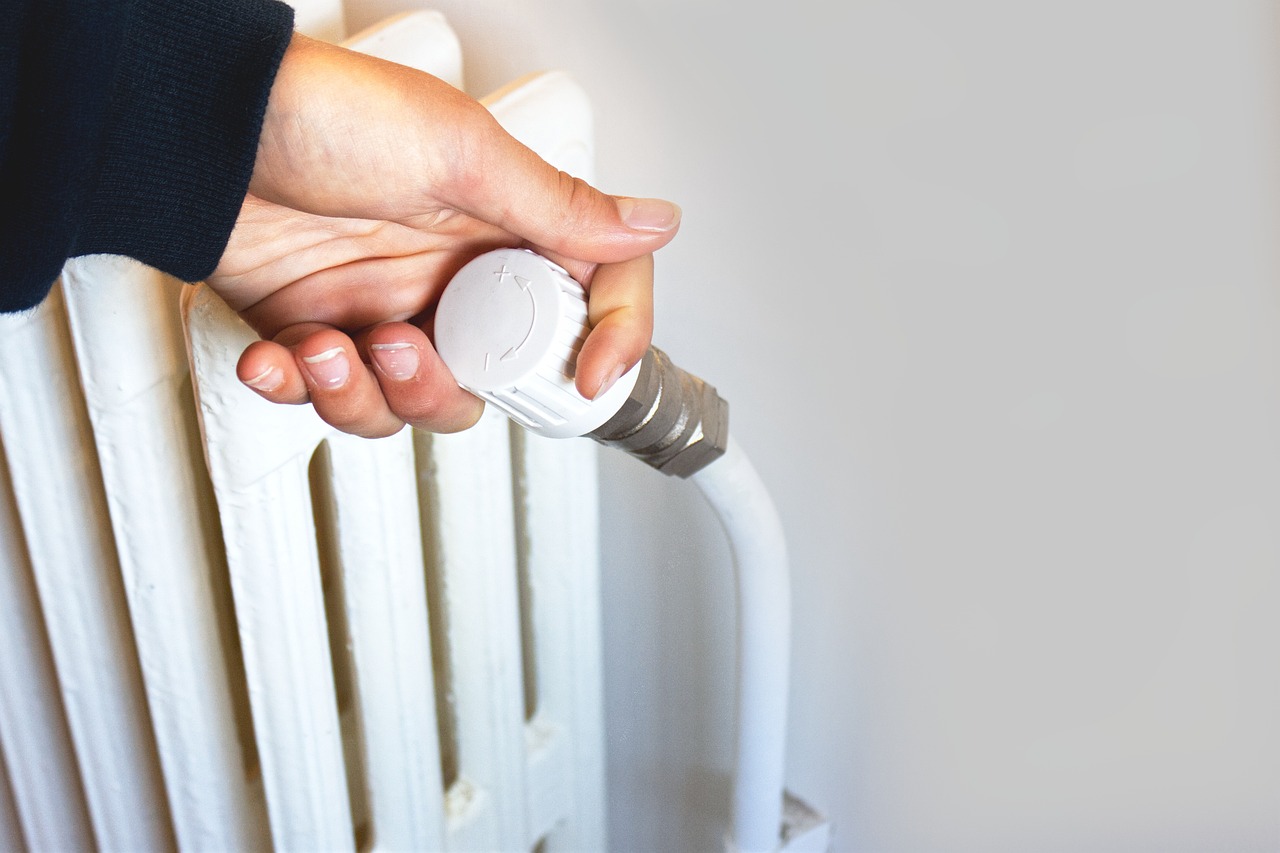
Screw the temperature control valve back on and open it.
Then open the water return valve. To do this, make the same number of turns as you did to close the valve.
Close the bleed screw when the radiator begins to fill.
Note: Improve the sealing of the installation by using a sealing compound.
5. Vent the radiator
Once you have reassembled the radiator, it is necessary to bleed it to remove any air that may have become trapped in its pipes.
To bleed a radiator, proceed as follows:
Gently reopen the control tee, bleeding the radiator at the same time.
Place a container under the bleed screw.
Turn the bleed screw until you hear a hissing sound.
Turn the radiator valve back on when the water flows through the bleeder.
Then close the bleed screw.
Screw the bleed screw back in without forcing it.
Important: On a small installation, it may be necessary to top up the water while filling the radiator. Refer to the manufacturer’s instructions.
6. Check the radiator installation
After you have completed your installation and vented your radiator, check that the radiator is working correctly and that there are no leaks.
Turn on the water supply to the boiler and wait a few minutes.
Open the radiator temperature valve and check that the radiator is heating properly.
Next, run the palm of your hand over the radiator and valves to check for leaks or moisture.
If you find leaks, check the bolts for tightness. If the bolts are not tight enough, you must re-drain the radiator to add sealant to the threads to ensure a good seal.
Equipment for dismantling and reassembling a water radiator
Basin
Collector plug
Adjustable wrench
Allen key
Bleeding wrench
Sealing compound
Pliers