
Summary
Part 1: Focus on the choice of material
Part 2: How do you install electrical molding
Step 1: Prepare for installation
Step 2: Make the cuts
Step 3: Attach the electrical moldings
Step 4: Place the pedestals
Step 5: Pull the cables
Step 6: Connect the devices
Step 7: Make the finishes
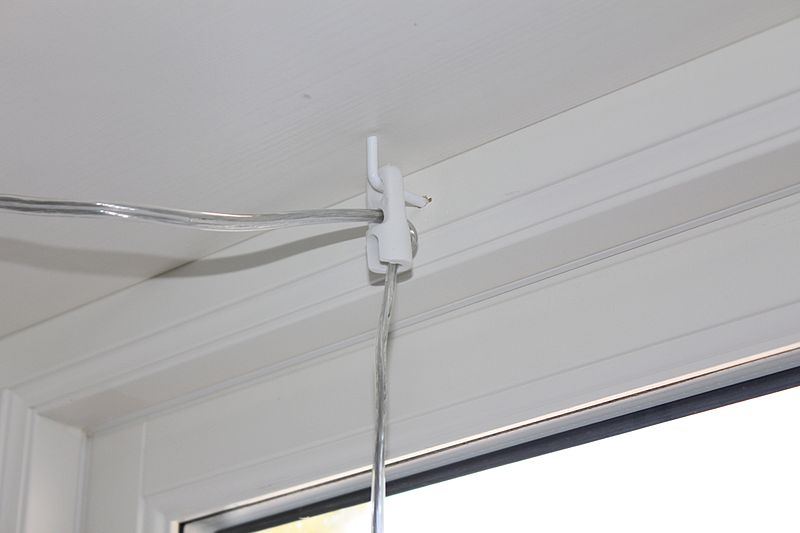
Exposed electricity under PVC moldings or baseboards is the simplest solution in a renovation. As the elements are installed on the surface, the work is fast and is done without damaging the supports: walls, ceilings, coverings.
The section of the profiles and the number of compartments are chosen according to the wiring to be carried out. The junction boxes, switches, and sockets available in addition adapt to all needs: line extension, modernization, or complete installation.
Here is the step-by-step procedure for installing surface-mounted electricity.
Reminder:
– The ground wire is usually in the middle of the outlet.
– The letter N indicates neutral (blue wire).
– The letter L indicates the phase (red, brown, or black wire).
Caution: An electrical outlet can conduct electricity even if the appliance connected to it is not working. Use a voltmeter or a voltage checker to make sure that no current is flowing through the outlet.
Focus on the choice of equipment
– Pay attention to safety clues
The IP rating determines the degree of protection of an electrical device against the penetration of solids and liquids.
Observe the recommended minimum values:
– IP 20 in living rooms and kitchens;
– IP 21 to 27 in the bathroom (depending on the safety volume);
– IP 24 in the garden;
etc.
The IK index, established on a scale of 0 to 10, designates the level of the solidity of the material against the shocks of everyday life:
– Use IK 02 level material in living areas.
– Prefer IK 07 in the workshop and garage.
These values are not always indicated in the online catalogs of the supermarket chains. Therefore, ask before ordering, especially for low-priced products.
Choose your equipment according to the wiring to be carried out
The cross-section of the profiles and the number of compartments, usually from 1 to 3, are chosen according to the wiring to be carried out.
|
|
2.5 mm² wire |
4 mm² wire |
6 mm² wire |
|
|---|---|---|---|---|
|
13 × 24 mm 1-compartment molding |
18 |
13 |
9 |
6 |
|
13 × 24 mm 2-compartment molding |
2 times 7 |
5 |
3 |
2 |
|
16 × 32 mm 1-compartment molding |
32 |
26 |
17 |
12 |
|
16 × 32 mm 2-compartment molding |
2 times 14 |
11 |
7 |
5 |
|
20 × 52 mm 3-compartment molding |
19 |
14 |
9 |
6 |
Good to know: consult the catalogs of your favorite brands. You’ll often find tables indicating the wiring capacities of the various models of moldings and baseboards.
Equipment needed to install surface-mounted electricity
| Tape measure | Starting from $4. |
| Paper pencil | $0,50 |
| Aluminum ruler 2 m | About $15. |
| Bubble level | Starting from $4. |
| Miter box | Starting from $4. |
| Putty glue | About $7. |
| Seal Gun | Departure from $6. |
| Burning alcohol | $3 approx. |
| Percussion drill | Starting at $30. |
| Drill | $2 the drill about |
| Screws and dowels | From 0,50 $/piece |
| Lime | Departure from $5. |
| Cutting pliers | Starting from $5. |
| Stripping pliers | Starting from $3. |
| Phillips screwdriver | Starting from $3. |
This post will now continue in part 2 to describe a step-by-step procedure to install the electrical molding. By the end of part 2, you should be able to DIY your own electrical works. Should you have any questions, please jot down your comments below. We will get back to you at the earliest. Stay posted!