
Many know how proper care can help prolong the life of a furnace, but do you know that with less than four hours, a few dollars and some basic hand tools, you can clean your furnace on your own – no need for experts!
Examining the Furnace Filter

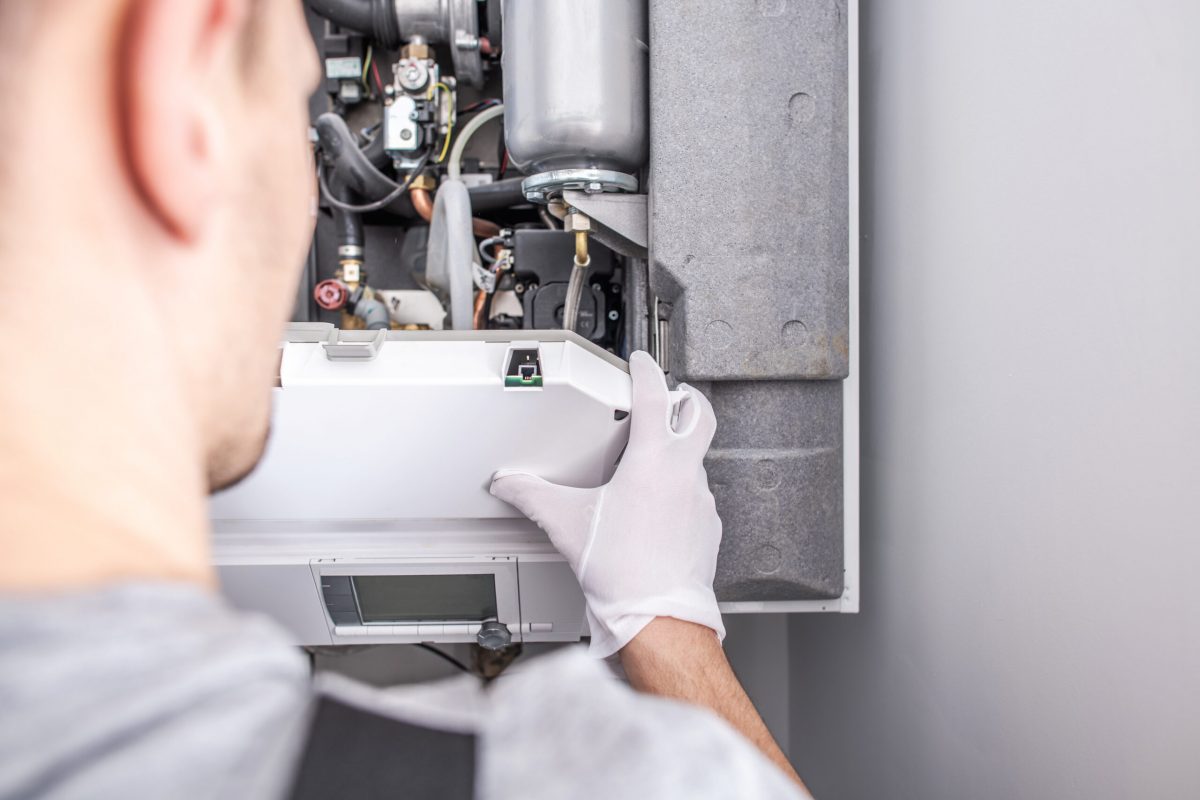
Locate the Access Panel on the Furnace’s Exterior
This is located between the blower system and the return-air duct, beneath the return-air duct. The filter is usually located inside the front of the furnace. To access the filter, you may need to unscrew the front panel from the furnace or remove it from the hooks that hold it in place. It’s possible that your furnace filter has its own access door.
Pull the Filter up and Out of the Tracks to Remove It
In general, the filter should be easy to remove. Do not force the filter out to avoid causing damage to the filter and/or furnace. If it appears to be stuck, carefully inspect it to see if anything (such as dirt or debris) is obstructing it.
Examine the Filter for Dirt and Damage
If the filter appears dirty, it should be cleaned or replaced, depending on the type of filter.
- Hold your filter up to the light and look through it if you’re not sure if it’s dirty. If you can’t see the light, it’s because the filter is dirty and needs to be replaced. A clogged filter circulates dirt and dust throughout your home instead of usable, clean air, forcing your furnace to work harder to push air through the grime.
- If your filter isn’t disposable, you’ll need to clean it. Remove any dirt or loose particles first. In most cases, a mild soap and tap water can be used to rinse and wash the filter.
- Make sure to thoroughly dry the filter before reinstalling it in the furnace.
- A disposable filter is used in many furnaces. If this is the case for you, take the old filter to a hardware or appliance store (or write down the size and/or model number) and buy a replacement filter of the same type or model.
Replace the New or Freshly Cleaned Filter In the Furnace
Replace the filter in the furnace, making sure it fits snugly. Then, using the hooks or screws, close the access door or reapply the furnace’s front panel.
If the filter does not appear to fit properly, make sure no dirt or debris is obstructing it. If you have a new filter that doesn’t appear to fit properly, double-check that you bought the correct type or size.
Remember to Inspect Your Filter on a Regular Basis
Furnace filters should be cleaned or replaced three to four times per year. Make a note on your calendar to inspect yours on a regular basis. For example, you can test your filter on the first day of each season.
Blower Assembly Cleaning

Turn Off Your Furnace
Check that all power sources that supply power to your furnace unit, including battery backup systems and electrically generated power, are unplugged. Failure to turn off all power sources before cleaning the assembly may result in electrocution and/or serious bodily harm.
Remove the Furnace’s Front Panel
Even if your furnace has an access door for cleaning the filter, you will most likely need to remove the entire front panel to clean the blower assembly. To remove the panel, you may need to loosen the screws holding it in place or remove the panel from its supporting hinges.
Remove the Fan Unit From the Furnace
Most fans are attached to the furnace by a track that allows them to be easily slid in and out. Wire connections can also be used to connect the fan. If this is the case, make a note of where each wire connects to the fan before removing it. This will make reassembling the unit easier.
The Blower Assembly Should Be Cleaned
A mild soap and water are usually enough to clean the blower, but a toothbrush can help you clean the fan blades and the small spaces between them.
Replace the Fan Blower Assembly in the Furnace
Once the assembly has been thoroughly cleaned and dried, reposition it on its track so that it can be inserted into the furnace. If you had to disconnect any wires to remove the assembly, reconnect them and make sure they are connected to the correct location.