

Summary
What is a mono split air conditioning unit?
Materials needed to install a mono split air conditioner
Step 1: Determine the location of the indoor unit
Step 2: Attach the wall bracket
Step 3 to 10: Continue in part 2 of this post
What is a mono split air conditioning unit?
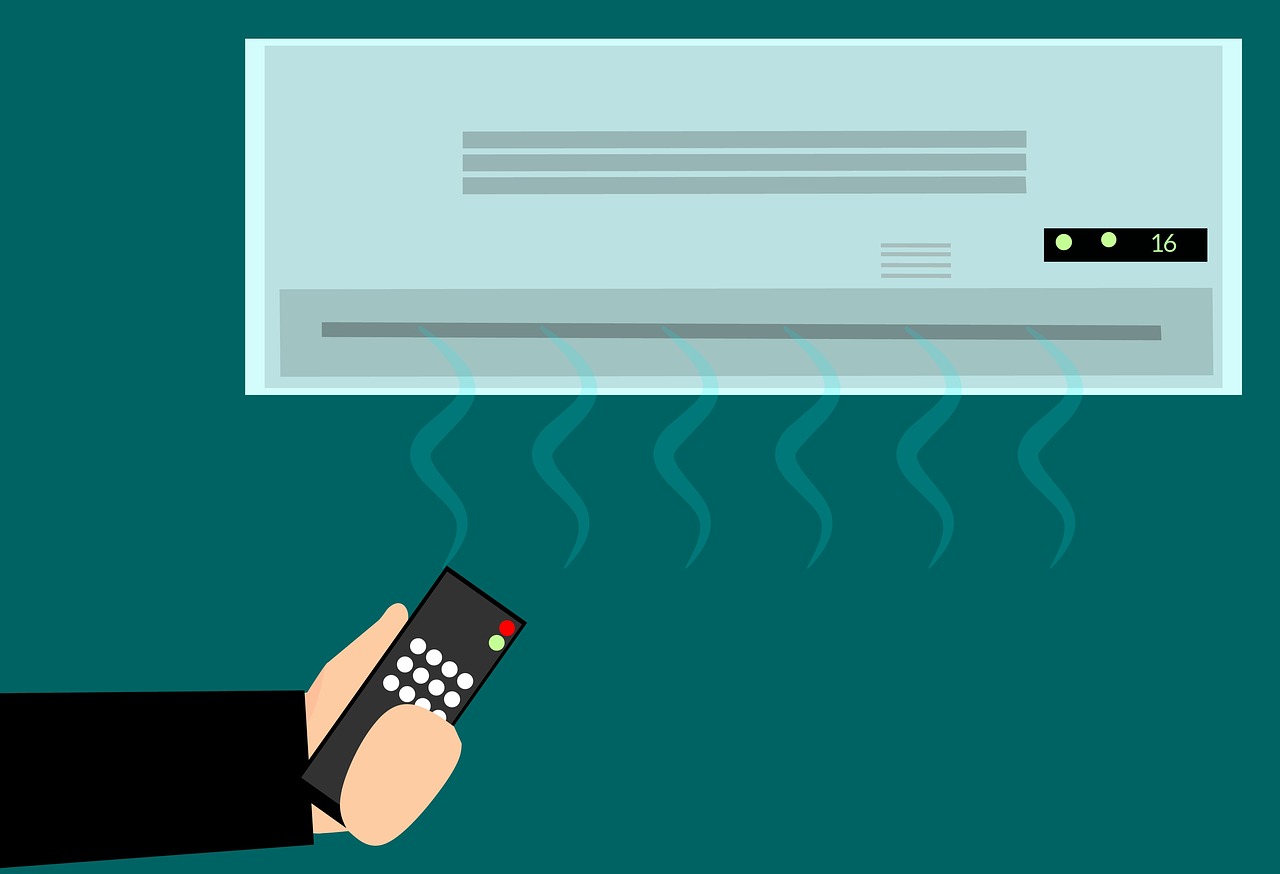
A mono split air conditioning unit is a fixed air conditioning system that divides the cooling cycle into 2 units. On one hand, the compressor, the condenser coil, and the expansion valve are located in the outdoor unit and are designed to pass heat via a centrifugal fan outside. On the other hand, the indoor device houses the evaporator coil, and it blows cool air into the room via a tangential fan.
The cooling cycle can be reversed by a special valve, to turn the heat pump mode on.
The outdoor motor acts as a cold removal evaporator; the indoor machine carries out condensation, and hot air is blown into the room.
In particular, you need to drill a Ø 60 to 80 mm hole through a facade wall to pass the tubes connecting the two units, interior and exterior, of the equipment.
For example, in brick or cinder block, drilling can be done without any particular difficulty with useful DIY tools, as in the below list.
In a tougher material such as vibrated concrete or hard stone, a professional core drill (available for hire) or a mason should be hired.
Materials needed to install a mono split air conditioner:
-
Wrench
-
Pipe wrench
-
Allen key
-
Paper pencil
-
Cutter
-
Bomb leak detector
-
Material Detector
-
Drill
-
Expansion studs
-
PVC trunking
-
Tape measure
-
Spirit level
-
Percussion drill
-
Drill bit extension
-
Hole Saw
-
Electrician’s Phillips screwdriver
-
Electrician’s flat screwdriver
-
Screws and dowels
Here’s how to install a mono split air conditioner.
First thing first: focus on local regulations
Operating noise from the outdoor unit may disturb the neighbourhood. If you live in a building or subdivision, ask the condo owners for their approval before purchasing your air conditioner.
However, be aware that there are recent models with a sound level of less than 30 dB, some of which have a “night silence” function.
1. Determine the location of the indoor unit
The wall split must be at the height of between 1.80 and 2.60 m from the floor.
Preferably choose a wall that directly faces the location of the outdoor unit: balcony or terrace area.
This proximity reduces the connecting tubes’ path as much as possible while facilitating the evacuation of condensation water from the air conditioner.
Note: Make sure to leave enough space on the sides and top of the unit for routine maintenance. Also, there must be no obstructions that could interfere with the air intake or exhaust.
Contact a professional to obtain a personalized estimate.
2. Attach the wall bracket
Unpack the air conditioner and retrieve the wall plate clipped on the back of the indoor unit.
Put the plate at your chosen location and adjust its horizontality with the spirit level.
Mark the anchoring points through its perforations: at least four anchoring points are required: 2 at the top, and 2 at the bottom.
Depending on the hardness of the wall, drill or punch the holes.
Push suitable dowels into the holes, screw the plate in place, and check again that it is horizontal.
Caution: Before drilling, use a material detector to check that no water or electrical pipes run through the wall at the fixing points.
This post will now continue in part 2 which will be shortly published. Stay posted on our blog, and remember to share your comment in the section below.