
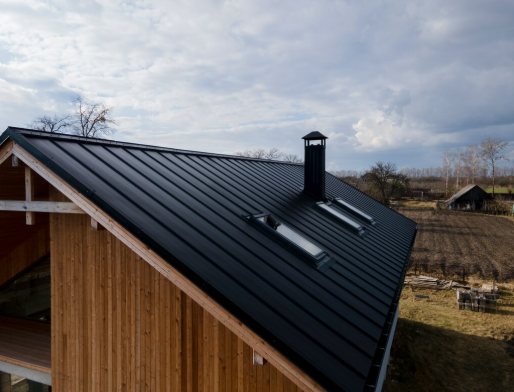
Roof valleys are critical components of a roofing system, acting as channels for water runoff. Ensuring effective flashing details in these areas is essential to prevent costly leaks and water damage. This article explores the types of roof valleys, flashing requirements, and installation techniques that will enhance leak resistance in both residential and commercial roofing.
Understanding Roof Valley Types and Their Importance
Roof valleys are formed where two roof planes intersect, creating a V-shaped channel that directs water away from the structure. This crucial area can often become a source of leaks if not properly designed and maintained. Different styles of roof valleys can be utilized based on aesthetic preferences, functionality, and material costs.
There are primarily three types of roof valleys: open valleys, closed-cut valleys, and woven valleys. Each type has distinct characteristics affecting how water is managed and how flashing should be applied.
Open valleys typically involve a metal lining that is visible and provides excellent drainage capability. The most robust option for open valleys is a heavy-gauge, non-corrosive metal, which ensures durability against extreme weather conditions. However, while effective, this option may be pricier than others.
The closed-cut valley merges aesthetics with effectiveness. It incorporates additional layers of roofing material around the valley area to enhance drainage while offering a clean appearance. Nevertheless, it is critical to ensure that fasteners do not go too close to the valley center to avoid compromising the valley’s integrity.
Finally, woven valleys are constructed by overlapping the shingles from both sides of the valley. Although visually appealing, they require careful installation to mitigate moisture issues during adverse weather conditions, especially for high-wind areas. With all these options, it’s clear that selecting the appropriate type of valley can significantly influence a roof’s longevity and water resistance.
Analyzing the Importance of Flashing in Roof Valleys
Flashing is a vital element in roofing that helps direct water flow and prevent leaks, particularly at critical intersections like roof valleys. Installing flashing correctly is essential to safeguard the building’s interior from water intrusion.
Among the reasons flashing is important in roof valleys are:
- Water Management: Properly installed flashing diverts water flow down the valley, preventing ponding and overflow.
- Protection Against Moisture: Quality flashing minimizes the risk of moisture penetration, protecting rafters and insulation from potential mildew and decay.
- Longevity of Roofing Materials: Effective flashing enhances the lifespan of roofing materials by reducing exposure to water damage.
Failure to correctly install flashing can lead to significant issues, such as leaks, which can compromise the overall roofing structure. Building owners should ensure their roofing contractor has expertise in flashing requirements specific to roof valleys, as inadequate flashing is often the root cause of leaks.
Implementing Effective Flashing Techniques
To achieve maximum leak prevention in roof valleys, it’s essential to follow specific flashing techniques and guidelines. Each type of valley may necessitate customized flashing methods.
Flashing Installation in Open Roof Valleys
For open roof valleys, the recommendation is to employ a minimum of 26-gauge galvanized steel flashing. This material is highly durable and will withstand the test of time under harsh weather conditions. The installation process involves careful alignment to ensure the flashing extends well beyond the valley centerline, usually recommended at least six inches.
Moreover, metal valley liners should be secured using clips or cleats that allow for some movement due to thermal expansion. Failing to accommodate this can lead to cracks or leaks. Additionally, any overlaps in flashing sections should be sealed to prevent water from seeping through, leading to leaks below.
Contingently, the use of a bituminous membrane can offer an extra layer of protection in areas prone to heavy rain. It’s essential that this underlayment is also centered within the valley to ensure optimal drainage.
Closed-Cut Valley Installation Details
When dealing with closed-cut valleys, a slightly different approach is necessary. This type requires the installer to align shingles from both planes strategically, ensuring adequate lapping. Fasteners must be kept at least six inches away from the valley center to prevent water intrusion through nail holes.
It’s advisable to utilize at least four layers of roofing materials—two for the shingles, one for underlayment, and an additional top layer—to maximize drainage capabilities. Proper sealing with a roofing cement at the shingle edges will help in preventing water from finding its way into the underlayment.
For professional advice and reliable roofing solutions, John Cusumano Construction can help you choose the appropriate valley flashing system and ensure proper installation for long-lasting roof protection.


