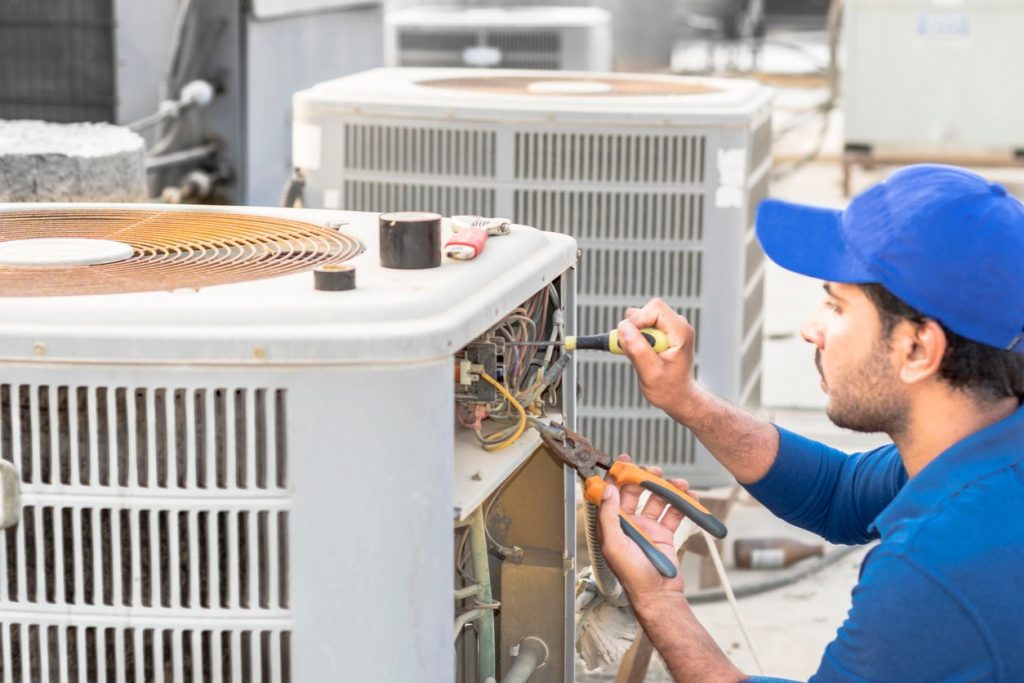
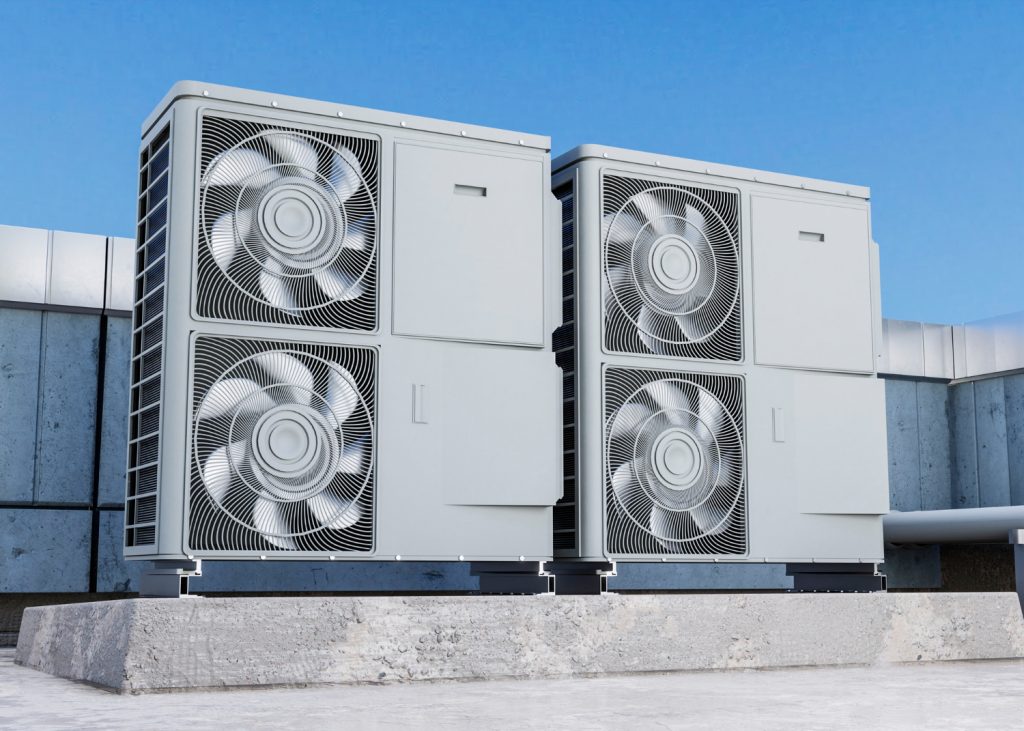
Installing an air conditioner efficiently is essential for achieving optimal cooling, enhancing energy efficiency, and ensuring the longevity of the unit. Whether you’re opting for a window AC, split system, or a portable unit, understanding the proper installation techniques is crucial. This guide provides a comprehensive overview of the steps involved in the installation process, including key safety tips and common mistakes to avoid, helping you create a comfortable indoor environment while maximizing the unit’s performance.
Understanding Air Conditioner Types
Before diving into the installation process, it is essential to identify the right type of air conditioner that fits your needs. Three predominant types exist: window ACs, split ACs, and portable units.
- Window AC: an all-in-one unit wedged into a window frame, perfect for cooling single rooms.
- Split AC: comprising indoor and outdoor units, designed for larger spaces requiring more cooling power.
- Portable AC: easy to maneuver, requiring minimal setup, primarily through an exhaust hose.
Essential Preparations for Air Conditioner Installation
The effectiveness of your air conditioning system relies heavily on proper installation. Let’s explore the steps needed for efficient installation specific to window and split units, as these are the most commonly used.
Window AC Installation Steps
- Choose the Right Location: Find a sturdy window that does not receive direct sunlight. This helps in optimizing cooling efficiency.
- Prepare the Window: Fully open the window and prepare the support brackets that come with the installation kit.
- Install the Unit: With assistance, lift the unit and secure it onto the brackets. Tighten screws carefully to ensure stability.
- Seal Gaps: Utilize weather stripping or foam to fill any gaps around the edges, preventing warm air from entering.
- Connect to Power and Test: Use a dedicated electrical outlet and check the functionality of the AC to ensure it’s producing cold air effectively.
Split AC Installation Steps
For a split AC, professional installation is often the best route due to the complexities involved.
- Location Setup: Mount the indoor unit at a height of 7-8 feet for optimal airflow. The outdoor unit should be in a shaded, well-ventilated area.
- Drilling for Refrigerant Pipes: Carefully drill a hole (approximately 3 inches wide) to connect the indoor and outdoor units, ensuring proper slope to prevent leakage.
- Indoor Unit Installation: Secure the mounting plate on the wall and carefully hang the indoor unit to ensure it is level.
- Connecting Refrigerant Pipes: Attach copper pipes, ensuring that all connections are leak-proof and secure.
- Outdoor Unit Installation: Place the unit on a stable base, ensuring adequate clearance for proper airflow.
- Final Testing: A technician should vacuum the lines to rid moisture before turning the unit on. Check the cooling efficiency and look for leaks.
Safety Considerations During Installation
Safety should always take precedence. Here are some critical safety tips to remember:
- Always turn off electrical power before making any connections.
- Wear protective gloves and goggles when handling sharp components.
- For split systems, consider hiring a professional for handling refrigerants to avoid potential hazards.
- Ensure your circuit isn’t overloaded; a dedicated power source may be necessary.
Common Installation Mistakes to Avoid
Even with careful planning, installation errors can occur. Here are common pitfalls:
- Poor Sealing: Leaving gaps can lead to energy loss and excessive cooling costs.
- Improper Sizing: Selecting a unit too large can cause short cycling, while a too-small unit can struggle to cool efficiently.
- Neglecting Drainage Slope: Failure to create a proper slope for drainage can cause water to back up and lead to malfunction.
- Ignoring Manufacturer Guidelines: Skipping instructions can void warranties and lead to installation errors.
Getting Started with First-Time Use
After a successful installation, it’s time to power up your AC. For optimal performance, ensure to clean or replace the air filters. Set the thermostat to a comfortable temperature (ideally between 24-26°C) and let it stabilize for about 15-20 minutes before checking for proper circulation.
By following these steps, you’ll achieve an efficient and effective air conditioning setup that keeps your space cool during the heat of summer. If you’re uncertain about the installation process or need assistance, don’t hesitate to contact experts in air conditioning services to help ensure you’re getting the best performance out of your AC unit.